Tuesday, September 28, 2010

Autumn is Here! Caramel Apple Cake


  Here's the recipe that practically defines what a perfect autumn cake should taste like--in my opinion.  The name says it all.  Caramel. Apple. Cake.  Honestly friends, this cake is one of  the very best cakes I've ever had! For a minute, just imagine with me what a homemade spice cake with freshly sweetened Jonathan apples and a smooth, ridiculously rich caramel frosting that pools at the bottom of the cake that is topped with toasted southern pecans would taste like! 

     The cake recipe is one that came from Heath's Nana and is a delicious no-fail cake that's made with the season's best apple, Jonathan.  It's usually made as a sheet cake with a cream cheese frosting, but I have been wanting to make my own version.  I just loved the idea of an apple cake with caramel frosting.  Apples and caramel have been the perfect fall pairing for as long as hayrides and festivals have been around.  So, I just though why not put them together in a cake that's so sinfully good it would satisfy any one's sweet tooth!


   Caramel Apple Cake would be perfect for an autumn birthday or even a new tradition at the Thanksgiving dessert table!  Try it, and I have no doubt you will agree it will be a recipe to share! 

Caramel Apple Cake
3 c. apples, chopped fine
1 1/2 c. sugar (Sprinkle over apples, set 15 minutes.)
1 1/2 c. all purpose flour
1 tsp. baking soda
1/2 tsp. salt
1/2 c. butter (1 stick), melted
3 eggs, beaten
1/2 tsp. cinnamon
1/2 tsp. allspice
1 tsp. vanilla
1/2 c. toasted pecans

Mix all ingredients together by hand.  Pour into 2 8 in. plans that have been greased and floured.  Bake at 350 degrees for 26-30 minutes.  Allow the cakes to cool and frost with homemade caramel frosting.  Decorate with toasted pecans.

Caramel Frosting
 1/2 c. butter, (1 stick)
1 c. packed dark brown sugar
1/3 c. heavy cream, or more as necessary
1 16 oz. box confectioner's sugar
1/2 tsp. pure vanilla extract

Melt butter in a saucepan over medium heat and stir in brown sugar and cream.  Bring to a boil and then transfer to a large mixing bowl.  Add sugar and vanilla.  Beat with a mixer until everything is creamed together well.  If the frosting is to thick, just add a bit of cream.  This frosting is very thick and rich, and once spread on the cake will actually smooth itself out for an beautiful finish.  Ice the cake once the frosting is cooled about 15-20 minutes, and re stir it before putting on the cake.

Wednesday, September 15, 2010

Creamy Potato and Corn Chowder


   As you may be finding out, I love to cook food that speaks of the season.  When the weather starts to cool off after a very long, hot summer I am practically grabbing at the opportunity to begin my fall meals.  I have been craving potato soup recently, but I wanted to make it with a twist.  This recipe was inspired by my love of potato soup, and the fact that I had some beautiful freshly frozen garden corn that I bought at a local farmer's market store.  So, I decided to do a take on creamy potato soup and rich corn chowder!  It was delicious! 

   The way I start most of my soups is with the aromatic of onion.  I usually saute with olive oil and in this case a little butter for richness and help the "roux" like base to come together. You can add whatever you else you like, like garlic or celery if you want. I will probably add some minced garlic the next time. Cooking is all about satifying your own taste, just make sure you practice before serving your guests the final recipe!  This recipe is written out rather casually because I didn't really measure any ingredients.  Like I said, use your Cook's intuition to help you out! This beautiful Creamy Potato and Corn Soup is delicious as summer takes a bow out to introduce my favorite season, Autumn!  (Better yet, enjoy eating this with a blanket and a movie!)


Creamy Potato and Corn Chowder

Chop about 4 medium sized potatoes into chunks. (I used red potatoes because that's what the farmer's market had, but you could use russets as well.) Dice about half of a sweet onion and 3 carrots into about the same size.  Pour some olive oil and a couple pats of butter into a dutch oven set on medium.  Once the butter melts, drop the carrots in and let begin to get soft, then add the onion. Salt and pepper a bit.  I like for these veggies to get very soft before the next step.  Then you will take enough flour to stir into the butter and oil to make almost a paste.  Stir this for a minute to get the bitter flour taste out.  The flour is a thickener for the soup.
 Once this is done, add about 2 cans of reduced sodium chicken broth and stir to break up the roux while scraping the yummy bits off the bottom of the pan.  Add the potatoes and frozen corn and bring to a boil.  Once it starts to boil, I turn down the heat a bit until the potatoes get tender.  They will soak up some of the yummy chicken broth flavors.
Once the potatoes are tender, add milk (I only keep skim milk, but 2% would make it even creamier) and if you want add a bit of cream for an even silky texture.  I didn't feel like mine needed any (not to mention we are trying to cut back on fat a little bit)! Then I add a good portion of salt, freshly ground black pepper, and dried thyme.  Fresh thyme would be amazing if you have some!  This goes so well with the potato and corn flavors.  Simmer together for a few minutes and ladle into bowls.  I served this with chedder garlic biscuits, and it was a match made in heaven.  Even just buttered bread would be dreamy!

Grocery List:
Red or Russet Potatoes
Frozen or Fresh Corn
Carrots
Onion
Garlic (Optional)
Olice Oil
Butter
Flour
Chicken Broth or Stock
Milk
Cream (optional)
Salt&Pepper
Thyme

Thursday, September 2, 2010

Peanut Brittle Topped Peanut Butter & Caramelized Banana Cream Pie

  
   Ok, so I'm on a bit of a dessert kick this summer!  I probably have the biggest sweet tooth of anyone I know (other than my husband), and I find baking so much fun and easy to share with you.  I mean, you can't have enough dessert recipes, right??  Here's a recipe that I was inspired to make after watching a yummy episode of Bobby Flay's Throwdown on the Food Network.  The challenge was banana cream pie, and both Bobby and the competitor's looked A-mazing!!  I have never even thought about making a banana cream pie -- and honestly it's never been a favorite of mine -- until I saw these recipes.  I decided to combine them and make my own divine version of Peanut Brittle Topped Peanut Butter & Caramelized Banana Cream Pie!

I have to start off by saying that this pie is quite a process to make.  It's a pie that you may not always have all of the ingredients on hand (like cream cheese, a box of vanilla wafers, and heavy whipping cream...oh, and make sure you have 6 eggs) so you will need to plan ahead when making this.  Also, there are several steps, that include several hours of refrigeration, so you may want to make the filling the night before or first thing in the morning in order to actually slice and eat the pie the same day.  Trust me, all of this preparation is well worth the wait!

The beauty of this delicious pie is in the layers.  The first being the homemade vanilla wafer crust, then some the layers of fresh banana slices that are overlapping right on top of the crust.  The next layer is "the" layer of caramelized banana custard that you have slaved over the stove top to prepare.  This dreamy, creamy layer is what truly makes this pie the banana goodness that it is.  The next layer of the peanut butter whipped cream/icing that makes this banana cream pie unique and rich tasting. The peanut butter tastes SO good with the banana flavor in the pie. (This is something I love so much I may add it to other pies or cakes!) The final layer, my personal contribution to the pie, is crushed peanut brittle all over the top to add a crunch that pairs perfectly with all of the creaminess!  Try this pie for a special occasion and you'll be glad I shared it with you!

Peanut Brittle Topped Peanut Butter & Caramelized Banana Cream Pie

*The Crust
3/4 of one box of Vanilla Wafers, crushed
1 stick of butter, melted
2 Tbsp. sugar

Combine together in a bowl until the butter is evenly distributed and the mixture looks like wet sand.  Pour in a large pie plate, and push down and around with the bottom of a flat glass or measuring cup. Or, you can  do what I did and press down with a slightly smaller pie plate to quickly and evenly spread the mixture in the pie plate and up the sides!  Then bake in a 350 degree oven for about 10 minutes.

*The Caramelized Banana Filling
1 1/2 tablespoons unsalted butter
2 1/2 tablespoons light brown sugar
3 very ripe bananas, peeled and sliced into 1/4-inch thick slices
3 cups milk
1/2 cup sugar
1 1/2 ounces cornstarch
1/4 teaspoon fine salt
6 egg yolks
1 teaspoon pure vanilla extract
1/4 cup cold heavy cream
Melt the butter in a large saute pan over medium-high heat, add 1 1/2 tablespoons of brown sugar and cook, stirring constantly, until the sugar is melted and the mixture is caramelized, about 4 minutes. Add the bananas and cook until bananas start to break down, and caramelize on both sides. Add 2 cups of the milk, bring to simmer and scrape the bottom and sides of pan and carefully transfer the mixture to a medium saucepan. Puree the mixture with an immersion blender until smooth; bring to a simmer.

In a bowl whisk the sugar, cornstarch and salt together until combined. Add the remaining 1 cup of milk and whisk until the cornstarch is dissolved. Whisk this mixture into the banana mixture and cook, whisking constantly, until the mixture thickens, about 4 minutes.Whisk together the remaining tablespoon of brown sugar and yolks in a small bowl until smooth. Ladle some of the thickened mixture into the egg mixture to temper the yolks. Pour the yolk mixture into the pot and cook until thickened, 3 to 5 minutes, WHISKING THE ENTIRE TIME. Once the mixture has thickened let it come to a boil for exactly 1 minute, whisking a few times. Remove from the heat,wisk in the vanilla and strain through a coarse mesh strainer into a bowl.

Cover the surface of the custard with plastic wrap and chill in the refrigerator until set, at least 4 hours and up to 12 hours. Once pudding is set, whip the custard in the bowl of a stand mixer with a whisk attachment on high speed until smooth, about 20 seconds. Add the heavy cream and whip until light and fluffy, about 20 seconds longer.

Transfer the filling into your cooled pie shell. Place plastic on top and let chill in refrigerator for at least 2 hours. 

*Peanut Butter Whipped Icing
3 oz. cream cheese, room temperature
1/2 c. powdered sugar
1 tsp. vanilla extract
1/3 c. creamy peanut butter (do not use freshly ground)
2/3 c. chilled heavy whipping cream
Peanut Brittle, coarsely chopped

In a large mixing bowl, whip together cream cheese, and powdered sugar until creamed.  Add the vanilla extract and whip in.  Next, add the peanut butter and mix together well.
In a separate medium mixing bowl, beat the heavy whipping cream on high, until firm peaks form.  Once you have made the whipped cream, gradually add it to the peanut butter-cream cheese mixture, folding it in.  Be careful to not stir this together too roughly, because you want to maintain the integrity of the whipped cream in the topping.
You will spread this evenly over the top of the filling in the pie pan.  Top with as much crushed peanut brittle as you like!

Friday, August 13, 2010

Sugar Laced Cherry Pie


I love the classics!  "Gone With the Wind", "It's A Wonderful Life", "The Sound of Music", Audrey Hepburn, Louis Armstrong, Dean Martin ---- buttermilk fried chicken, turkey and dressing, sweet potato cassarole, and of course cherry pie. Classics are all-time favorites that are enjoyed even more as the years go by.  They are passed down from generation to generation and  loved even more.  Cherry pie has to be one of those things.  Made from scratch, cherry pie (well, semi-homemade, if we're talkin' crust) to me is definitely a feel-good dessert that will "take you back" to a more simple era.  The taste of the sweet filling in a sugary crust will leave you feeling like your sitting at your Grandmother's kitchen table all over again.

This is a very simple recipe for cherry pie.  I used frozen sweet pitted cherries, but I've heard that the sour ones are good too!  If using frozen cherries, be sure to let them sit in the bowl with sugar and cornstarch long enough to defrost a bit before pouring them onto the crust and into the oven.

I used refrigerated pie crust for this recipe, like I always do.  (I've decided I'm not going to attempt the homemade stuff until I get a food processer.)  You don't have to make it a lattice crust on top, but I really like the old fashioned look of it on such a traditional pie. The crimson color of the berries look so pretty after it's baked and oozing out from the crust!  Yummy!!

To make the crust look extra golden, I always do a milk or egg wash and then generously sprinkle sugar on the top. (You can read more about an egg wash in Nana's loved Apple Pie recipe.)  This pie is irresistible!  We had some delicious sugary cherry juice in the pan once cut, so we spooned it over vanilla ice cream!  It was over the top good! I really do hope that you try this super simple sugar laced cherry pie.


Cherry Pie

1 1/4 c. granulated sugar
3 Tablespoons cornstarch
5 1/2 cups (about 2 bags) fresh or frozen pitted cherries
2 roll out refrigerator pie crusts


In a large bowl, stir together the sugar and cornstarch.  Add cherries.  Gently toss until coated well.  Let mixture stand for about 15 minutes, or until a syrup forms, stirring ocassionally.  (If using frozen cherries, let stand for about 45 minutes. Until cherries are partially thawed but still icy.)

Meanwhile roll our your bottom pie crust and lay it out in the pan. Stir the cherry mixture and tranfer to the pasty-lined pie plate.  If you are going to make a lattice top, do so now.  If not, put your top crust on and make a few slits in it  to allow the steam from the cherry mixture to release.  Seal and crimp the edges of the pie.  If desired, put on your milk or egg wash and sprinkle with sugar.

Bake pie on the rack about a sheet pan in case of spillage.  To prevent over browning, cover edges of pie with foil.  Bake in a 375 degree oven for 30 minutes (or 50 min. if using frozen berries).  Remove foil and bake for an additional 25-30 minutes until center is bubbly and pastry is golden.  Cool for at least 2 hours for it to set well.  Enjoy!

Monday, August 2, 2010

Peak of Perfection Strawberry Jam


"With jam and bread, with jam and bread!"  Maria sings out with the children during the climax of "Do Re Mi" in one of my favorite movies of all time, "The Sound of Music".  Yes, I'm a bit obsessed with musicals and at times burst into song--a lot, actually.  What better to sing about then homemade sweet strawberry jam that has been freshly preserved in your own kitchen?  What's not to love about the beautiful jewel toned color of the ripest crushed strawberries that are cooked down with sugar until it becomes the lovliest jam to have ever been spread on a hot biscuit or flakey croissant?!  No wonder it's such a favorite not only in my home, but in about every Southern kitchen alike!  This strawberry jam recipe is simple but  perfectly sweet and one anybody would love to receive as a gift with some freshly baked bread...just as Maria sings about!


This was actually the first time I attempted to make jam, and I was fully prepared to fail on the first try. This summer I've been blessed to be able to take a break from work, so I decided set aside the time to do this old fashioned tradition of (made from scratch) canning; and I was very pleasantly surprised.   This recipe comes from my good 'ole faithful Better Homes and Gardens cookbook that my mom gave me when I got married, and if you follow the direction I think it's no-fail.  So, if you find the time to make this deliciously summer jam I hope that you try this recipe and share with others.  Get ready to make a lot, because it will be best loved!  Strawberry jam will surely be a new tradition in my home every summer!

A few tips:
* First, I did a rough chop on the (peak of perfection-ripe) strawberries.  The recipe doesn't say to do this, but it made the mashing easier for me. Unless, of course you have tiny ripe strawberries.Then you can take a potato masher or pastry blender and crush the strawberries.
*I really timed the cooking as it says so that it would not be too thick.  Don't worry if it seems too runny while pouring into the jars, because the jam will thicken as it cools.
*I made sure that my jars were very thoroughly sterlized in the boiling water and completely immersed.  Lids, as well.  I was so happy to quickly hear each one of the "pops" that come from the jar's lids sealing into place.  It was so rewarding that I think I actually jumped up and down!  Like I said I didn't think my first batch would turn out, but I think
the Lord helped me out.

Strawberry Jam
2 Quarts fresh strawberries, hulled
1- 1 3/4 oz. package of regular powdered fruit pectin
1/2 tsp.butter (this just helps minimize the foam--can't taste it)
7 c. sugar

Place 1 cup of berries in an 8 quart heavy kettle.  Crush berries (see picture).  Continue adding berries and crushing until you have 5 cups of crushed berries.  Stir in pectin and butter.  Heat on high, stirring constantly, until mixture comes to a full rolling boil (see picture). Add sugar all at once.  Return to boiling; boil one minute, stirring constantly. Remove from heat; quickly skim off foam with a metal spoon.  Ladle into hot, sterilized half pint canning jars, leaving a 1/4 in. headspace.  Wipe jar rims; adjust lids.  Process in a boiling water canner for 5 minutes (start timing when water returns to boil).  Remove jars; and wait to hear the seal "pop" into place. Tighten the lids all the way, and cool on racks.

Thursday, July 8, 2010

Mama's Banana Split Pie


   Happy Independence Day!  It's not too late to say that, right?  I thank God everyday for the freedoms that we have in America!  I've been inspired to share a couple of summer treats with you in celebration of the Fourth of July! This one is particular is definitely one of the best summer traditions in my family.  Every Fourth, my mom makes this fabulous Banana Split Pie that everybody looks forward to eating!  So much for the BBQ and fried chicken, give me the pie!!!

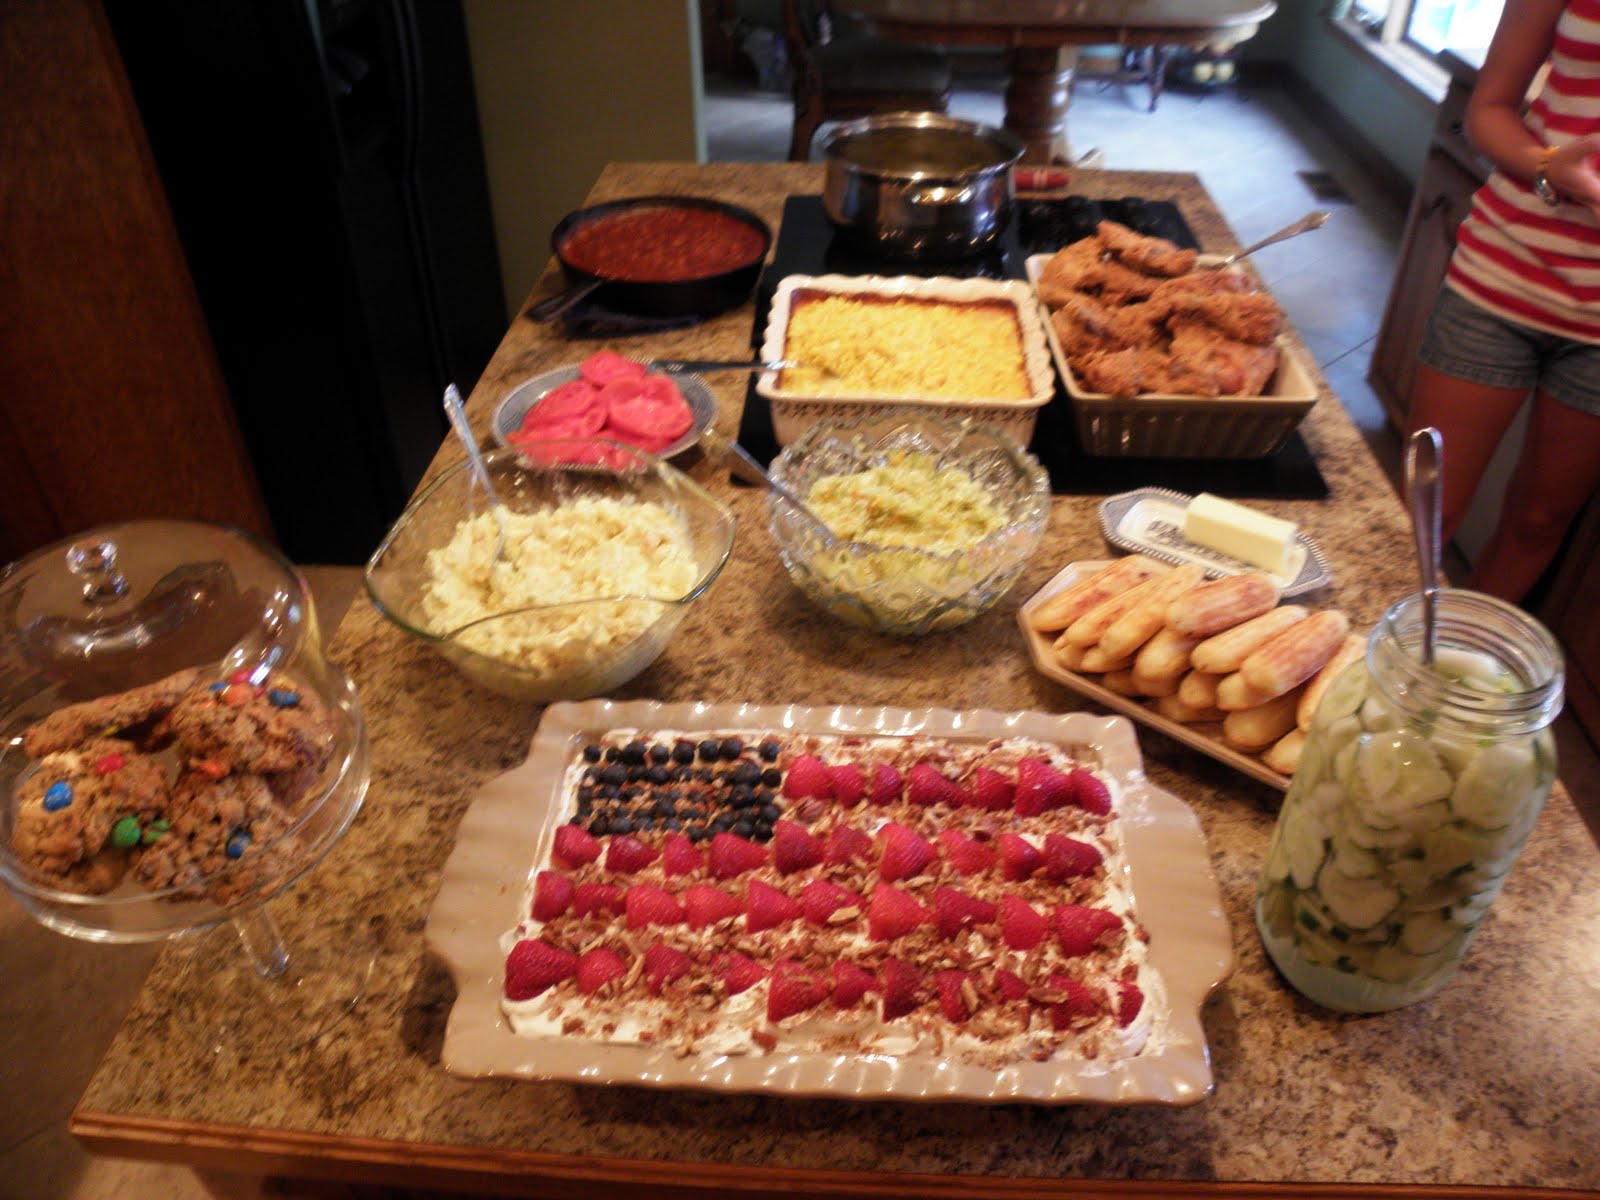
   It consists of  the tropical flavors of the season!  The pineapple and bananas are the stars of this pie, but put that on top of a homemade graham cracker crust, with a dreamy creamy filling, and whipped cream and toasted pecans....and....well, it's just mouth-watering good!  We always decorate it like a flag on the Fourth of July, with fresh strawberries and blueberries which makes it a festive centerpiece for the dessert table.  Otherwise, we sprinkle on the toasted pecans and marachino cherries for a true banana spit finish. Remember, if you make this into a flag, you will need to use a 9x13 pan and double the recipe. It will serve several people this way, too. This is actually an easy recipe that looks and tastes like SO much more!  You have to try this cool dessert on a hot summers day or share in our tradition and make it in celebration of our America the beautiful!


Banana Split Pie


The Crust:
Crushed graham crackers
2 tsp. sugar
1/2 c. melted butter

Stir all together.   Spread out in a 8" pie pan and press down on the bottom to make an even layer.  No baking is required. (Add as much sugar as you like, or don't add any if you are want.  I believe I usually use about half the box of pre-crushed graham crackers for a 8"pan. )

2 eggs
2c. powdered sugar
1/2 c. butter (1stick)  softened, not melted
15 1/4 oz. can crushed pineapple, drained well
2-3 bananas
4 1/2oz. Cool Whip*
1/4. chopped pecans, toasted
Marachino Cherries or blueberries and strawberries

Beat first 3 ingredients until light and fluffy.  Spread evenly over the graham cracker crust. Drain the pineapple and spread over the filling evenly.  Layer with sliced bananas.  Top with the Cool Whip, nuts and cherries.  If you are making a flag top, use the blueberries where the stars would be and the strawberries for the stripes.  Evenly sprinkle the nuts all around.

Chill for at least 2 hours.  (Do not put in the freezer.  I've made that mistake and it's not a good one!)  Enjoy!!


*We have always used Cool Whip for this recipe, although you can certainly make homemade whipped cream for the top, but eat it soon afterward.  I don't think homemade whipped cream  is as good after it sits for a while.

Saturday, June 26, 2010

Leslie's California Chicken Salad

  
   I love a really good homemade chicken salad on hearty bread, a chewy roll, or with nutty crackers and crudités.  This is something I never thought about making myself until a couple of years ago after my mom surprised me at work and brought me a wonderful lunch!  She had packed her homemade chicken salad with salty crackers and of course freshly baked cookies.  Yes I know, I'm just a little spoiled..err..loved!  Thanks for that, Mom!!  Anyways, after tasting her chicken salad I thought I can do this -- what an easy and delicious lunch.  This is like a California chicken salad. It's made with roasted chicken breast, crunchy toasted nuts and red grapes or pineapple and mixed in with a simple creamy curry dressing.  So delicious!

   Start off by cooking your chicken.  I like to roast mine in the oven.  Usually I season it with whatever I like.  This time I used some Herbs de Provence, just because I was just roasting some chicken breast to eat throughout the week.  I didn't know at the time I was going to put it with a curry dressing, but it actually turned out great.  Most of the time I just use salt and pepper and it's great! If you don't have much time, just pick up a rotisserie chicken from the grocery to use. Once out of the oven, allow to cool and shred your chicken

   Next, you will want to toast your nuts.  Pecan are my favorite, although I have used walnuts, almonds, and even tried cashew and they are all so good!  Just spread them out on a cookie sheet and bake at 350 for maybe 6 minutes or until you can smell the nutty fragrance from the oven.  This makes the nuts taste like candy in your mouth!  Once they are out of the oven, allow to cool and chop.

   Finely dice the celery, cut your red grapes in half, and have ready with the chicken and nuts.  If you use pineapple, which is just as good, used canned pineapple bits and drain well.  This really gives the salad a unique sweetness.

   In a bowl, put about equal portions of (light or regular) miracle whip or mayo, and sour cream.  To this mixture, add salt, fresh cracked pepper, and the yummy curry powder. ( I rarely measure anything whenever I'm making one of my own recipes, but add enough curry powder to your to taste.  Don't be afraid to taste your food along the way!) The curry give it a warm hue that just great.  Mix all of this together and add the chicken, nuts, celery and grapes and it's beautiful and ready to eat!

   Today, I served it on a bed of baby spinach with sunflower-thyme crackers and slices of red bell pepper. This is easy to make for a crowd, so invite your Mom, daughter, or friends over to lunch for Leslie's California Chicken Salad!

Grocery List
Chicken Breast
Pecans, or other nuts
Celery
Grapes, or canned Pineapple bits
Light Mayonnaise or Miracle Whip
Sour Cream
Curry powder
Salt & Pepper