Monday, July 25, 2011

Heartwarming Blueberry Banana Bread


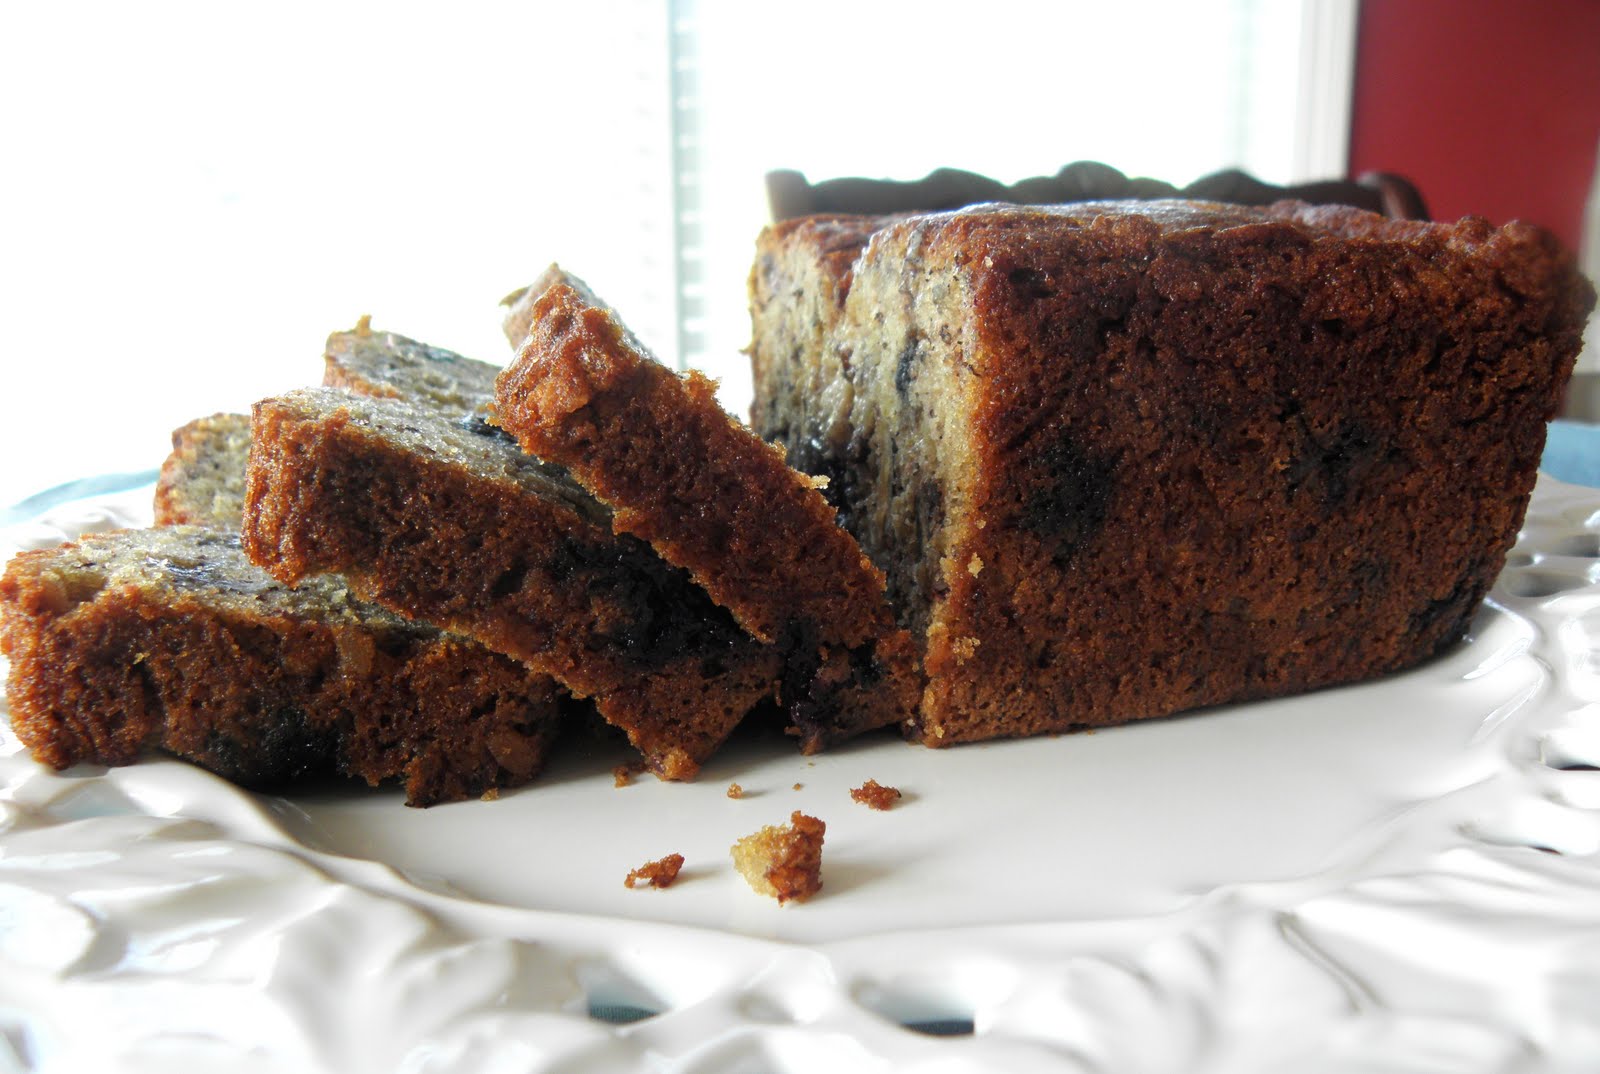
Even though we're in the middle of a terrible heat wave outside, I've been craving some homemade blueberry banana bread!   I can't help but think that fresh, warm bread right from the oven is always welcome in our kitchen!  There is just something about eating a slice of this with milk or a hot cup of coffee that brings comfort to the soul.  This bread has the lovely combination of juicy blueberries, banana and oats.  I would absolutely LOVE to smother it in a vanilla glaze, but we've been trying not too splurge to much.  A thick glaze or even streusal on top would be divine, and I'm sure I'll try it another time when we have visitors over to help us eat it all!  Yum-m-my!


This is a recipe that came from my mother-in-love's kitchen, and Mr. Cozy grew up eating it. I had to try it out, and sure enough it's definitely a keeper!  I had a new pint of blueberries that I got on sale, and my bananas were perfectly freckled so that made my mind to make this  few nights ago before going to bed.  Haha, I was actually anxious when I woke to get out of bed and eat a slice.  So I did--with a fresh cup of vanilla bean coffee that we just bought from World Market!  (Love that place!)


I hope you'll try this out sometime when you are craving a delicious little nosh.  Blueberry banana bread is the perfect thing to start off your day with your morning cup of coffee and newspaper or finish it with a tall glass of milk and your nightly devotion. 
Enjoy the fresh berries while they last!
~Blessings~

Heartwarming Blueberry Banana Bread

1/2 c. butter

1 c. sugar

2 eggs

1 c. mashed bananas

1/2 c. quick cook oats

1 1/2 all purpose flour

1 tsp. baking soda

1 tsp. salt

1/2 c. pecans, chopped

1/2 c. blueberries


Mix butter and sugar together until well combined.  Add eggs and bananas.  Combie next 4 ingredients, and add to the creamed mixture.  Stir in pecans and blueberries.

Bake at 350 degrees for 65-70 minutes.  The last 10 minutes, I had to cover the top wth some foil to prevent over-browning.  Check of the bread often near end of cooking time.

Allow to cool for at 10 minutes before turning the fresh bread out of the pan. Enjoy!


I'm linking up with some fabulous blogs!


Photobucket

Wednesday, July 20, 2011

Couscous with Roasted Summer Vegetables


I love roasting vegetables-- it's probably one of my favorite ways of preparing them!  Using whatever is in season, I will toss in olive oil and add some herbs or spices and bake in the oven on high heat, 400-425 degrees and instantly have succulent, flavorful vegetables that my husband and I gobble up!  I have even roasted broccoli, and it's incredible!  The high temperature cause the veggie's natural sugars to be released and caramelize for almost a crispy-like edge. 

In the summer I mostly use yellow squash and zucchini while sometimes (like this time) adding  tomato, bell pepper and onion.  In winter, I tend more towards root vegetables: carrots, parsnips and potatoes or winter squash.  Yum!  I will season with whatever flavor combination "goes" with the meal I am making.  Sometimes I use a Cajun seasoning for a spicy flare, sometimes more fresh herbs or maybe garlic and rosemary for a yummy Italian seasoning.  Hey, just oil salt and pepper is great, too; don't think you need every spice on the shelves at Kroger! 

(Although I must admit...Hi, my name is Leslie, and I am a spice and herb addict.)

So what??  I love to experiement with different flavor profiles!  I love my paprika, smoked paprika and sweet paprika, chili powder and Mexican chili powder, Curry powders, Tumeric, Cumin, Herbs de Provence....just to name a very few.  Why do I need 3 paprikas?  I don't really I guess, but when they go on sale - I buy!  All that you really need to do is go get a good herb and spice rack, first.  That will have all of your essentials, mine even has cinnamon and Herbs de Provence (which is like Italian seasoning with lavender, which makes it quite French!). I also frequently use garlic powder, chili powder and cumin in addition to the rack.  All the other stuff I have I do use, but not as frequently -- this doesn't include "holiday" spices I use in the fall and winter, but that's another post.

I am rambling a little today!  :)  This roasted summer vegetable dish looks pretty and elegant while being so simple!  It adds pretty color to your meal! I think we're going to eat the leftovers of this tonight with some juicy grilled bbq chicken for a summer supper!
Happy Eating :)


Couscous with Roasted Summer Vegetables

2 yellow squash, chopped or sliced

2 zuchinni chopped or sliced

1/2 pkg. grape tomatoes, halved

1 bell pepper

1/2 onion

1/2 Tbsp. minced garlic

Italian seasoning

Smoked Paprika
(use whatever kind you have on hand)

Salt & Pepper

Olive Oil

1 c. couscous
(cook according to manufacter's directions--very easy and fast!)


Preheat oven to 400 degrees.
Line your pan with foil.  In the pan, toss the prepared vegetables, minus onion and garlic, in the pan with enough oil to coat --without drowning them!


Add the seasoning and toss together.  (I never measure when I cook like this, although you do want them very seasoned because you combine them with the couscous later.) 


Bake for about 12 minutes.  Take the pan out of the oven.  Add the chopped onion and garlic and toss everything together again.  Bake for another 10-15 minutes, or as soft as you like them. 


While they are baking, make the couscous.  This only takes about 7 minutes altogether. Once cooked, fluff with fork and add a drizzle of extra virgin olive oil.

Toss the roasted vegetables with the prepared couscous and add salt and pepper if needed.  Serve hot.


I'm linking up with!...


Tuesday, July 19, 2011

The Best (Open-faced) Sloppy Joes with Oven Fried Potato Wedges


Good morning!  I just want to start off by saying that I feel like I haven't been the most dedicated blogger recently. :( With summer comes lots of fun things ~ like gardening, frequent family visits ~ that sometimes keeps me from blogging as much as I like.  I will always come back, though!  Thanks so much to everyone who stops by for a visit.  I am overwhelmed by the interest that my little blog and humble family favorites receive!  May the Lord bless you on this beautiful day!

I guess just about everyone has eaten "Manwich" before.  Remember the stuff in the can?   Growing up we would eat it occasionally, and I would like it just fine (no complaints Mom!:)  I haven't had that in a long time...Well, a couple of years ago I began making homemade sloppy joes for my husband and I, and now they are in the "rotation of recipes" I make on a fairly regular basis.  It wasn't until a couple of weeks ago had I tried out this particular recipe for sloppy joes, and it is by far the best!!!   They are cooked down thick and savory with just the right amount of herbs and spices!  Mmm, they will kinda soak into your bun and are oh, so good with some cheese melted right on top! 

This may look like it has several ingredients, but I like to get them all out in the beginning of my cooking so I'm not fumbling through the fridge or pantry when I'm supposed to be adding to the recipe--and that makes cooking this meal simple and easy.  Really, I do mean that!  It's a good recipe to have on hand for a family meal and quick enough for the weeknight!  I make mine with onion and green pepper, but you can substitute the pepper with carrot if you like, or even just use the carrot in addition.  I use Laura's Lean Ground Beef when I make this, so there is very little fat.  This recipe can be pretty healthy when you look at all of the veggies, use lean ground beef, whole wheat bun, and minus the cheese or use just a little like we did here(...even though my thighs would LOVE them to be smothered in cheese)!

Seriously, these sloppy joes are a dinner that grown-ups and kids alike will enjoy!  We ate them with my oven fried potato wedges to make a truly finger licking meal!   


The Best Sloppy Joes

1 Tbsp. olive oil

1/2 c. chopped bell pepper
(you can sub minced carrots, too!)

1 c. chopped onion (1 medium)

2 cloves garlic, minced

Salt

1 1/4 lb. lean ground beef

1/2 c. ketchup

2 c. tomato sauce

1 Tbsp. Worcestershire sauce

1 Tbsp. red wine vinegar

2 tbsp. brown sugar

pinch ground cloves

1/2 tsp. dried thyme

pinch cayenne pepper

Ground black pepper

4 hamburger buns

Colby jack cheese, shredded or sliced

(Yes, there's a lot of ingredients, but don't let that scare you away! It's so tasty!)


1. Heat olive oil in a large cast iron skillet -that's what I use anyway- on medium high heat.  Add the peppers--or carrots-- and saute for 5 minutes.   Add the chopped onion.  Cook stirring occasionally until onions are translucent, about 5 more minutes.  Add minced garlic and cook for about 30 more seconds.  Remove from heat.  Remove vegetables from the pan to a bowl and set aside.

2.  Using the same pan, (or you can cook the meat at the same time as the veggies in a separate pan to save time...but I did it this way), generously salt the bottom of the pan.  Heat the pan on high.  Crumble the ground beef into the pan.  You will likely need to do this in two batches, otherwise you will crowd the pan and the beef won't brown easily.  Do not stir the beef, just let it cook until it is well browned on one side.  Then, flip the pieces over and brown the second side.  Use a slotted spoon to remove the ground beef from the pan (veggies in the bowl), salt the pan again and repeat with the rest of the meat.

If you are using extra lean beef, you will not have any excess fat in the pan.  If you are using 16% or higher, you may have excess fat.  Strain off all but 1 Tbsp. of the fat. ( I think I strained it all out!!)

3.  Return ground beef and vegetables to the pan.  Add the ketchup, tomato sauce, Worcestershire sauce, vinegar and brown sugar to the pan.  Stir to mix week.  Add ground cloves (I used cinnamon since it was on hand), thyme, and cayenne pepper.  Lower the heat to medium low and let simmer for at least 10 minutes so that the flavors will meld together and it will thicken up a bit!

Serve on toasted hamburger buns ~ or in my case, hot dog buns! Ha!~ and immediately smother with as little or as much cheese as you like.


Oven Fried Potato Wedges

 Russet Potatoes, washed and unpeeled, cut in wedges

Olive oil

Salt & Pepper

Garlic powder

Honestly friends, I don't measure any of this out now that I've made these so many times!  On a lightly sprayed pan, toss potatoes in a little olive oil.  You don't want them swimming in it!!  Be generous with the salt and pepper, and use as much garlic powder as you like.  Toss it all together well and bake in a 425 degree oven for about 30 minutes.  Don't stir while in the oven for crispy fries. YUM!


I'm linking up with:


Photobucket

Sunday, July 10, 2011

Peach Cobbler with Cinnamon Oat Crust


So if you haven't already noticed, I've been kinda crazy for peach recipes!  I'm just trying to take advantage of the juicy, ripe peaches all that I can this summer.  Come fall and winter, I'll miss the fuzzy fruit!  Peach cobbler is a classic here in the South.  Cobblers are one dessert I think of mainly in the summertime.  Blackberry is one of my favorite, but of course I'm a sucker for a warm scoop of peach cobbler with vanilla ice cream on a scorching hot day.  (Just like it has been here this week!) 


Mr. Cozy brought home 1/2 a peck of locally grown white peaches and with family on their way over I knew that a peach cobbler was in order! This was a recipe that I tweaked a little.  I added some old fashioned oats  and cinnamon to the crust.  This is a  crust that is close to what my family uses for blackberry cobbler...I just added those two ingredients.  I probably could've added another peach  to the filling, but everyone loved that way it turned out!  Lots of buttery filling and lots of crunchy, sugary crust.  The crust isn't a pie crust, but one that you pour over the peach filling, and while it bakes it seeps down into the peaches a bit and hardens on the top for a crispy topping!  It's SO good!!!  


I just have to show you my flowers.
Mr. Cozy brought me these flowers to work this week--this completely made my day!!!  They are so cheerful and beautiful!  He is such a thoughtful husband.  Truly,  I feel like God has blessed me with husband better than I could've asked for! 


Mom intoduced me to the use of quilts on the table for a cozy, country look-- and I love it!  Sure these colors red, white and blue, but I think I can still use this through July, don't you?  
(Yes, that is a little bite I took out the cobbler here.  Sshhhh!  Please don't tell! :)


It was a beautiful day yesterday as we all ate peach cobbler with vanilla ice cream.  There is something comforting about being inside in a cool house, sitting under the fan, on a hot day in July, catching up with loved ones, looking through photo albums and enjoying a summertime treat.  
This is an easy recipe that will give you oodles of complements (or at least warm-fuzzies!) when you make it.  I hope that you give peach cobbler a try if you haven't already, and try to stay cool out there! 


Peach Cobbler with Cinnamon Oat Crust


3- 3 1/2 c. peaches, peeled and thinly sliced
(I has 3 cups)

6 Tbsp. butter, melted 

1 c. white sugar

1/2 c. flour

1 1/2 tsp. vanilla extract


Crust

3/4 c. + 1 Tbsp sugar

3/4 c. flour

1 tsp. cinnamon

1/2 c. old fashioned oats

1/2 c. milk

2 Tbsp. butter, melted


Peel and slice your peaches.
  ( I boiled mine for about 1 minute, then plunged them into an ice bath to easily remove the skin.) 


In a medium sized bowl, stir the peaches together with the remaining ingredients.  Being careful with the peaches, stir until mixed well.

Pour into a lightly greased medium sized dish, like an 8x8 pan...I used a pie pan.


For the crust:
 In a medium sized bowl, mix all of your crust indredients together.  If it feels too thick to pour over the filling, add a bit more milk to thin it out.


Pour this over the filling.


Bake at 425 degrees for about 40 minutes or until edges are brown and crispy.
Right out of the oven sprinkle 1 Tbsp. sugar over the entire cobbler so it will glisten!


Allow to sit for a few minutes (if you can) and dig in!


I'm linking up with:


Photobucket


Wednesday, July 6, 2011

I made Mama's Banana Split Flag Pie!


I was asked to make Mama's Banana Split Pie this year!


In our opinion, perhaps the most perfect summer dessert you can eat.

Here the flash made the pretty patio candles look a bit like fireworks...how appropriate around the flag!


Here's a look at Mom's festive dinner table.


Candles are always in order for a good meal!


:)  Blessings

Tuesday, July 5, 2011

Patriotic Lemon Berry Trifle


I hope that everyone had a blessed and fun Fourth of July!!!  I have always loved this holiday, not only because it's our country's birthday and a celebration of freedom, but because it's packed full of family celebrations.  Parade, street fair, fireworks, grilling, great food (surprise), relaxing outside and just having a blast with the people I love!


I have always wanted to make a trifle dessert, but until this weekend I didn't even have a trifle dish!   As soon as I bought one, I decided to make a festive patriotic trifle filled full of bright berries, lemony pound cake and a light and fluffy cream cheese filling.  (Wow, this is good.)  It was almost as fun to put together as it was to eat!


I tried to layer everything with red, white and blue to resemble the flag and just bring a little more celebration to the table.  I would also love to try this recipe with crushed pineapple and maybe even raspberries!  You can't really go wrong with the fruit combinations here.  This is one of those fun recipes that you can get creative with.  Trifles are basically all that way!  You know, I typed in "Patriotic trifle" on Google and after reading through several recipes I decided to just make it the way I wanted to--not adhering to anyone's recipe, but to our favorite flavors.  Two being lemon and cream cheese!  Whalla!  My own Patriotic trifle is born!  


This is somewhat of a take on a strawberry shortcake. Kind of.  My favorite  thing to use for strawberry shortcake is a pound cake (although I mostly use angel food cake) and even better is a lemon pound cake.  Kroger has the most delicious and moist pound cakes, so yes, I took advantage of that convenience and bough one for this recipe.  Also making this much easier to whip together!  The berries are juicy strawberries and blueberries and the "cream" is a mixture of cream cheese, heavy whipping cream, sugar and vanilla.  

It is as good as it sounds!!!

I know this is a little late for Independence Day celebrations, but why not make it all summer long?! Like I said earlier, you can always substitute the red and blue fruit for other kinds if you don't want it so patriotic looking.  I have to warn you though--to get out your cutest paper plates and fluff up the patio pillows because your friends and family will want to be here when you make this cool and refreshing summertime dessert!  


Patriotic Lemon Berry Trifle

1/2 lemon pound cake (bundt cake)

1 1/2 - 2 lbs. strawberries, chopped

1 pt. blueberries, chopped

2 pkg. reduced fat cream cheese, softened

1 small carton of heavy whipping cream

1/3c. sugar

1 tsp. vanilla extract

1 can of whipped cream (or homemade.  i cheated.)


Put the chopped berries in separate bowls and add just enough sugar to allow the juices to come out of the fruit.  Set them aside for at least an hour. You want the strawberries to release their juices.


In a large bowl,  place the cream cheese and beat with a mixer until fluffy. Add the sugar and vanilla and mix well. Turn down the mixer to low and slowly add the whipping cream.  Once all of it is in, turn the mixer back on high and whip in the cream until very light and fluffy. This will take a few minutes.  Set mixture aside.


Take the pound cake and cut into 1 inch cubes.  Set aside and get ready to assemble your trifle.

Start layering, by putting a small amount of the creamy mixture on the bottom of the trifle dish.  


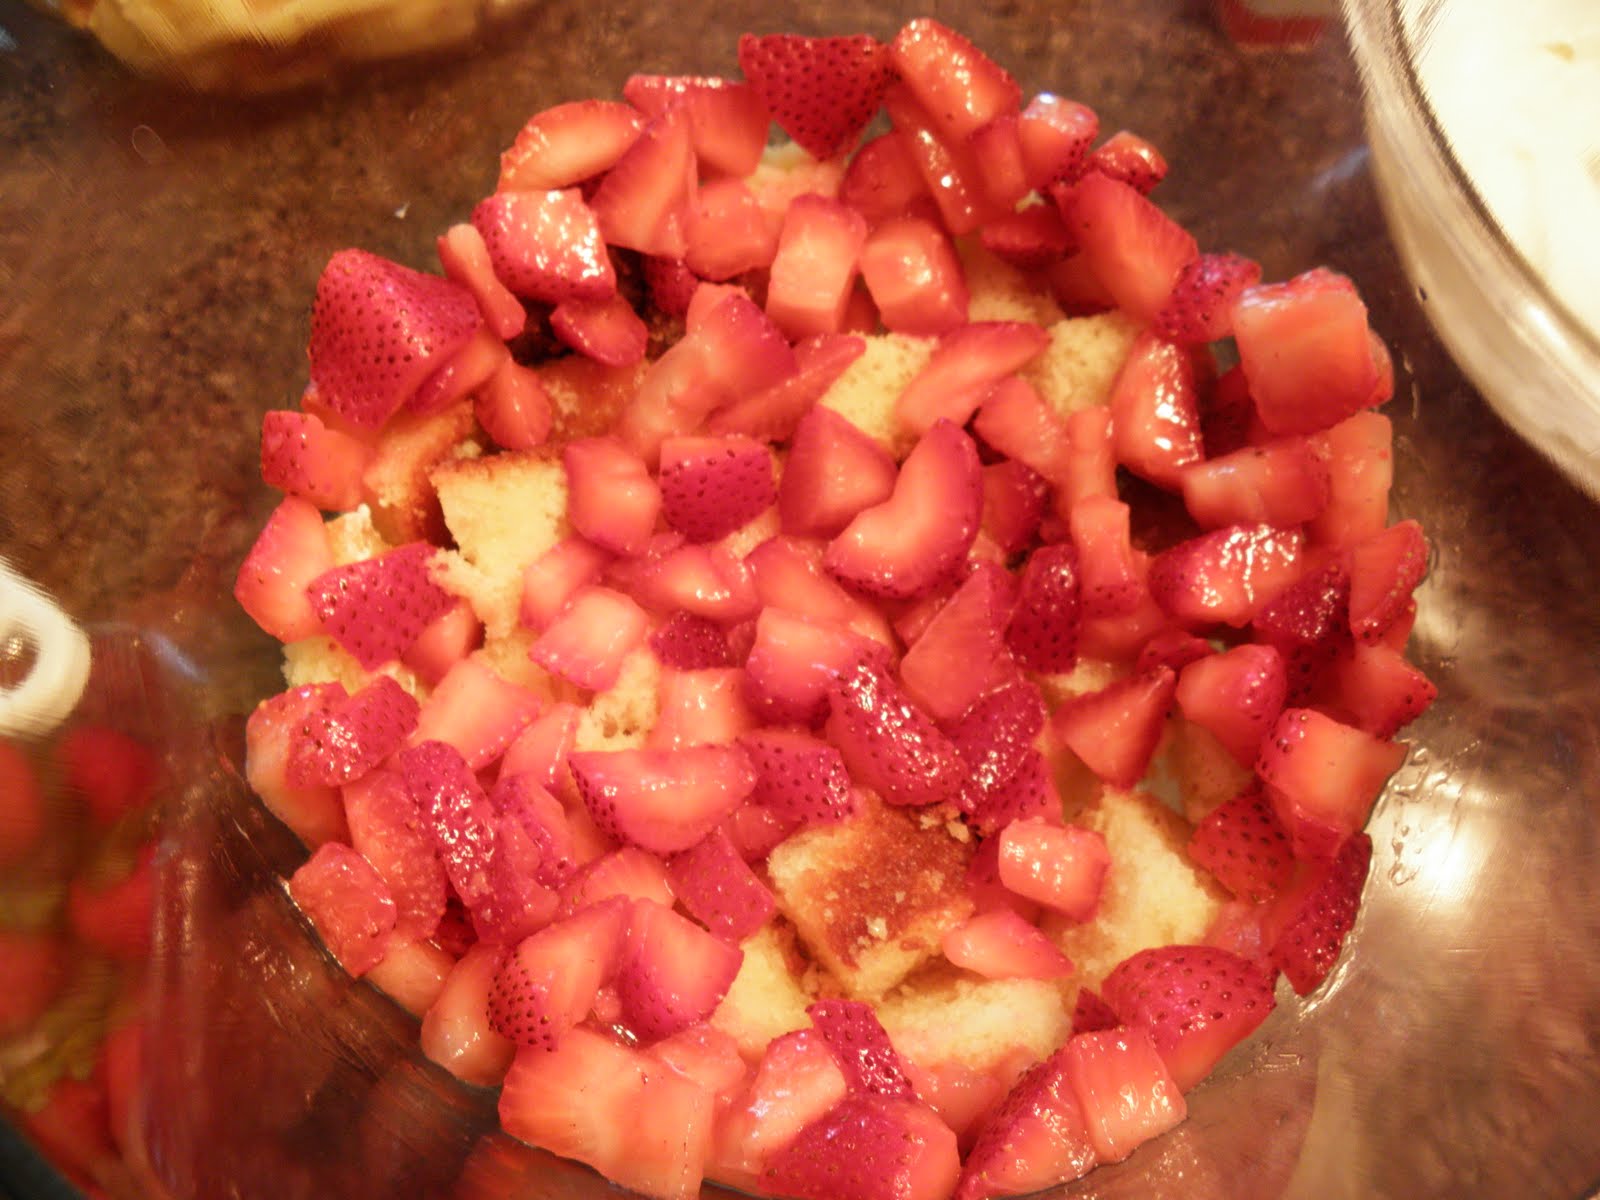
Next, add a layer of pound cake being careful to fill the side around the dish where it's seen.  

Next, add half of the strawberries once again, heavily around the edges.  You want to see the different lines of color.  


Spoon in and spread around a generous portion of the cream cheese mixture.  Try to keep the sides neat.

Add most of the blueberries.  Once again, being aware of the sides.


Pound cake, strawberries, then the rest of the cream cheese mixture.

I topped it off by pilling the remaining blueberries in the center.  Add the whipped cream 5 circles (like a star) on the top around the blueberries.  Place each whole strawberry on the whipped cream.  
Refrigerate until ready to eat.


I'm linking up with:

Photobucket